The steak was seasoned with salt, pepper, minced dried onion, minced dried garlic and ground togarashi (found this stuff at my local supermarket and have been using it on everything lately!). It was vacuum sealed with the trusty old FoodSaver and cooked in a 130°f water bath (heated with my Joule immersion circulator) for about 2 1/2 hours then pressed under a weighted sheet pan for 15 minutes and finally seared in a screaming hot skillet. The potatoes were first boiled to get the cooking process started, then allowed to dry out a bit before dressed with salt, pepper, togarashi and olive oil and placed in my air fryer to crisp up. The broccoli was trimmed and cooked in the same water as the potatoes, once tender it was put in a blender with a little of the cooking liquid and pureed. I added a bit too much water to the broccoli which made the puree little too loose, so I added a few of the potatoes to tighten it up. All in all a great meal.
Showing posts with label air fryer. Show all posts
Friday, September 8, 2017
Labor day dinner
Just wanted to make a quick post about Labor Day dinner this past week. More of a lunch, we had to go to a funeral that evening so the meal was pretty early. On the menu was sous vide ribeye steak, air fried potatoes and broccoli puree.
Thursday, February 9, 2017
Sous vide, air fried sriracha wings.
This was something I made for the Super Bowl this year. Two days before the big game the chicken wings were cut into drumettes and wingettes with the wing tips saved for future stock making. They were dusted with the hot chicken spice mix from this post, vacuum sealed and cooked in a water bath fitted with my Nomiku and set to 64°C for about 5 hours, my Anova was nearby as a backup if needed. After removing the wings from the bath they were allowed to rest for about 15 minutes before being stashed in the fridge until the next day. I Removed the wings from the bag to a paper towel lined sheet pan and patted them dry as much as possible, they were them sprinkled with a 1/2 and 1/2 mixture of pink Himalayan sea salt and baking powder and put in the refrigerator overnight to dry. This is a technique I saw in a Serious Eats recipe for oven-fried Buffalo wings which I figured would work as well in the air frier as it does in a conventional oven. To finish the wings I set my Avalon Bay Air Fryer to 400°F and let it warm up for a few minutes. The wings were tossed in olive oil until well coated and placed in the fryer basket with as much space between them as I could muster, then the basket was inserted in to the air fryer. After 5 minutes I shook the wings and returned them to the fryer for another 4-5 minutes. At the end of that time the skin was nice and crispy and the wings completely warmed through. The sauce was equal parts sriracha sauce and sweet Thai chili sauce (I usually use Mae Ploy brand but couldn't find it at the supermarket that day so I used another brand) and a touch of soy glaze. They were served with blue cheese dressing for dipping.
I was pretty happy with these wings, cooking them sous vide resulted in an extremely moist and tasty wing. The air frying worked ok, but I think finishing them by deep frying in very hot oil would have produced a more crunchy skin. Since the wings are already cooked in the water bath you don't have to worry about cooking them through in the oil and can go for a short fry in hotter oil. I'll have to try that next time with and without the baking powder to see how it changes things.
Labels:
air fryer,
air frying,
chicken wings,
sous vide,
Sriracha
Wednesday, September 28, 2016
Impulse Buy: Veggetti Pro
Last weekend I ran into the local Bed Bath and Beyond to get a new broom for the patio, I'm not sure exactly what happened to the old one but I found it in pieces. While walking towards the back of the store where they keep the brooms I passed a stack of Veggetti Pro spiralizers on sale for $19.99 and just had to buy one.
The concept of a spiralizer is that you rotate the food while pushing it through a fixed blade, the Veggetti Pro comes with a ribbon cut insert, a thin spiral insert and a thick spiral insert. So far I've only used the thick spiral insert to make curly fries out of sweet potatoes and russet potatoes. Both turned out to be surprisingly easy to cut. The Veggetti Pro has a suction cup on the bottom to attach it to a countertop, I find that wiping the counter down with a wet paper towel makes for a much stronger seal. You secure the food to be cut by first pushing one end onto the round metal blade located on the insert, then push up the spiked plate attached to the handle to secure it in place, then use the green handle on the side to push the food through the blades while rotating. Both potato and sweet potato went through easily. After cutting they were seasoned (salt/white pepper for the sweet potato and the KFC spice mix for the russets), tossed with olive oil and cooked in the Avalon Bay air fryer. Both turned out very good.
I'm pretty happy with this cheap gadget and look forward to finding new things to spiralize. Everything comes apart easily for cleaning, the instructions say that most parts are top-rack dishwasher safe but I find that hand cleaning isn't difficult at all. One thing that would make it better would be to have a removable catch bowl, the cutter blade is pretty close to the counter so there isn't much room to put down anything deeper than a dinner plate. There is also a fair amount of waste, you end up with about a 1/2" diameter core and another 1/2" cap that doesn't go through the blade inserts.
Labels:
air fryer,
curly fries,
spiralizer,
sweet potato,
vegetti,
veggetti
Tuesday, August 16, 2016
Improved Air Fryer French Fries
I've been playing with my Avalon Bay AB-Airfryer100 air fryer quite a bit lately, mostly for cooking frozen items like fries, onion rings and chicken nuggets but also for making french fries from scratch. The homemade fries turn out good, but they lack the craggly crispy surface that comes from deep frying. As an experiment I decided to try and damage the surface of the fries prior to cooking to see if I could get my "air fried" fries closer to the real thing.
I cut the potatoes into batons as usual, but before the soak I added a cup full of crushed ice to the bowl, covered with a tight fitting lid and shook the tar out of them for about 30 seconds. I added enough cold water to cover the fries and let them soak for about 30 minutes, then rinsed thoroughly and patted dry with paper towels. The fries were seasoned simply with 1/2 tsp olive oil, salt, pepper and paprika (one of the things I like about air frying is that you can season before cooking). Another technique I played with this time is double cooking similar to what you do when deep frying french fries. The first cooking was done at a lower temperature, 320°f for 10 minutes. After shaking the basket I returned them to the air fryer and turned the temperature up to 400°f. I removed the basket every 4-5 minutes to shake and check for doneness. After a total of about 20 minutes they were golden brown and crispy.
The end result was a fry that seemed to be a bit crispier than the previous attempts, damaging the surface of the fries before cooking does seem to have created more surface area to get crispy. The two phase cooking method may or may not have contributed anything to the final product, for my next attempt I'll try single stage cooking combined with the ice shake to see if the results are any different.
Labels:
AB-airfryer100,
air fryer,
avalon bay,
french fries,
fry
Monday, August 1, 2016
Avalon Bay AB-AirFryer100R Air Fryer
An air fryer is a small, counter-top appliance that cooks by circulating hot air around the food at high speeds. A heating element above the cooking chamber provides direct, radiant heat to the top of the food being cooked, while a powerful fan circulates hot air around the chamber and through the food. I had heard about these in the past, but never really considered buying one for myself. Because of my fondness for fried foods I received one as a gift last week for my birthday.
The model I received is an Avalon Bay AB-AirFryer100R. The fryer comes with a perforated basket for cooking items that would normally be deep fried, like french fries, a solid, round baking pan and a rack. So far I've only had a chance to use it a few times, once to make fresh cut french fries and again to cook frozen, pre seasoned curly fries from the supermarket.
![]() |
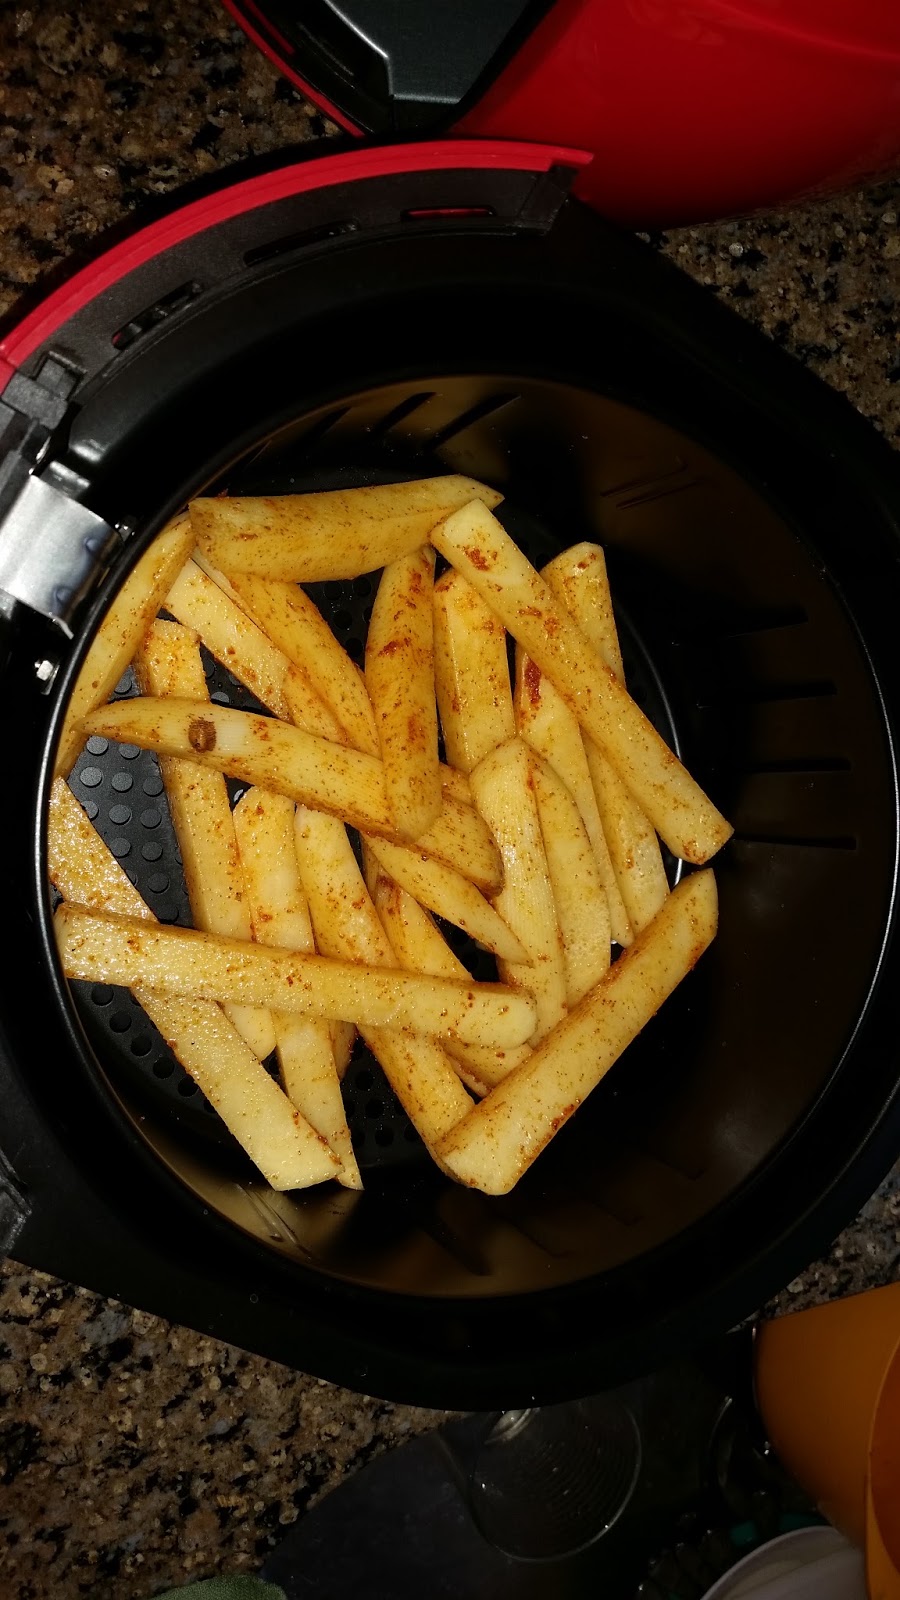
| Raw fries with seasonings |
![]() |
| Fries in basket after 10 minutes |
For the fresh cut fries I took a large baking potato, cut it into batons about 3/8' thick and let them soak in cold water. After about an hour I dumped the starchy water, rinsed the potatoes , covered them again with cold water and let them sit in the refrigerator until I was ready to use them later that evening. To prepare the fries for cooking they were drained, patted dry in paper towels and placed in a bowl for seasoning. For seasoning I used granulated garlic, celery salt, kosher salt, hot chicken spice mix (from my Nashville Hot Chicken post), and paprika. About 1/2 tsp olive oil was added and everything was mixed together until the spices were evenly distributed. The fries were put in the basket and the basket inserted in the frye. The temperature dial was set to 400 and timer set to 10 minutes. After 10 minted the basket was removed the I shook the fries to turn them over, then the basket was replaced and the timer set for another 10 minutes. At that time they looked like they needed a little more time so I shook them up again and returned them for another few minutes, total cook time was around 24 minutes, this would be reduced if I had cut thinner fries.
![]() |
| Finished product |
The end result was pretty good, the fries had a nice crispness on the outside while the inside was fluffy like a baked potato. I wouldn't mistake these for good, deep fried french fries, but they were pretty close and much healthier.
For the second experiment I wanted to see how frozen french fries would fare in this air fryer. I bought a bag of cheap, seasoned curly fries that were on sale at the grocery store. These were by Mariano's house brand, Roundy's. I took the fries directly from the freezer and put them in the basket, turned the temperature dial to 400°f and set the timer for 10 minutes. As before, the basket was removed at that time and the contents shaken up. The timer was set for another 10 minutes and I pulled the fries out and shook every 2-3 minutes until they were done. Frozen to done took about 18 minutes. These turned out really well, very crisp on the outside and moist on the inside with nothing added at all. I've never been one to keep bags of frozen fries in the freezer, but I think I'll now have to keep some on hand for a quick snack. Next I'll have to see how frozen onion rings work out...
![]() |
| Frozen curly fries |
The air fryer comes apart easily to clean, not that there was much of a mess with what I was cooking this time. The recipe book that comes with the AB-AirFryer100 has some pretty interesting dishes, from fajitas to brownies. I'll have to explore it more when I have the time. Even though I never seriously considered buying one of these I must say that I'm impressed so far with how it works. I'm looking forward to being able to make faux fried foods without having to go through the hassle of setting up a deep fryer, stinking up the house and having to filter or dispose of quarts of oil. Obviously there are things that an air fryer isn't suited for, like battered items of falafel, but I can still break out the Paragon cooktop if I really want to indulge in those things. I assume it would work fine for breaded items, I may have to try some air fried chicken before too long to test that out, or maybe air fried pickles!
Labels:
AB-airfryer100,
air fryer,
avalon bay,
countertop,
fryer,
gadget,
small appliance
Subscribe to:
Posts (Atom)


